In this post, we will see how to do logo settings for reports in SARAL.
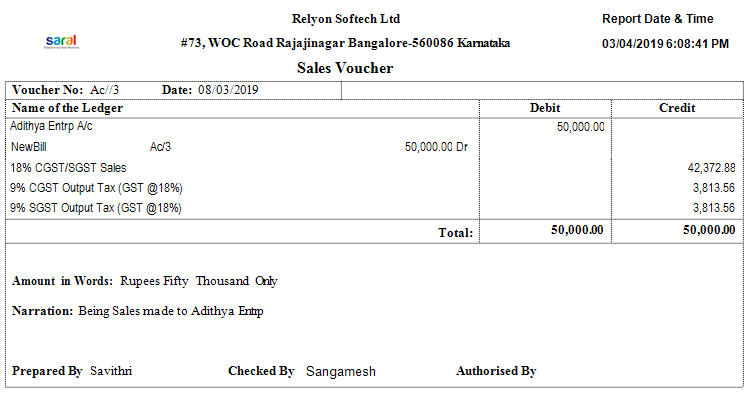
The logo of the company will be displayed in the different reports taken from voucher and invoices entry.
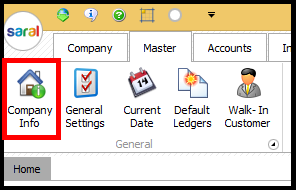
In order to enable logo in reports, first, the logo has to be uploaded to the company. To upload the logo, go to Company Info option under Master Menu.
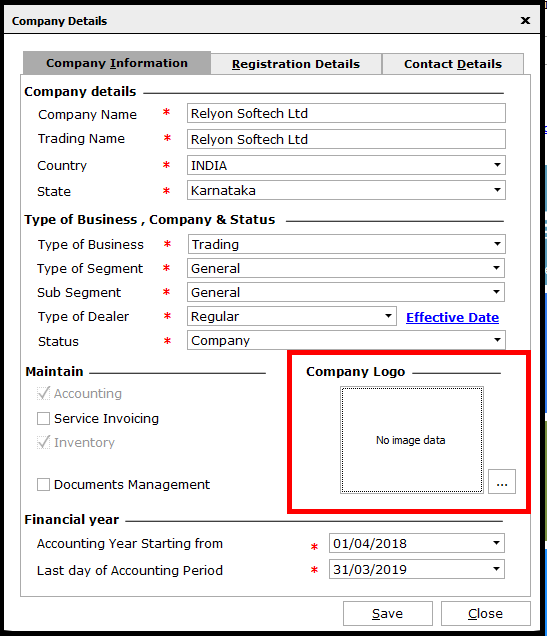
 In the displayed window of Company Details, go to Company Logo section and click on “…” button to select the company logo.
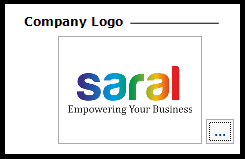
 On selecting the required logo, it will be displayed on the screen. Click on Save to update the company details.
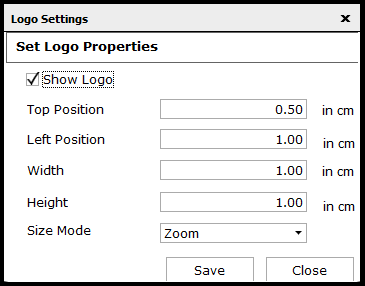
 Now, go to the voucher or invoice window of which you want to take the report. In case, you want the report of the voucher, go to the particular voucher and click on Logo Settings shown in the bottom line of the window.
 Here, tick on Show Logo and enter the position of the logo on the report. After entering the details, click on Save.
 Now, click on Print and view the position of the logo on the report. If any changes required, come back to logo settings and do the required changes.
 If the logo has to be set on any invoice generated from the Inventory module, then go to invoice generation screen i.e., Sales/Purchase Invoice, etc. Here, click on Preview.
 The Report Setting window will be displayed. Here, click on Advance Settings and then Logo Settings.
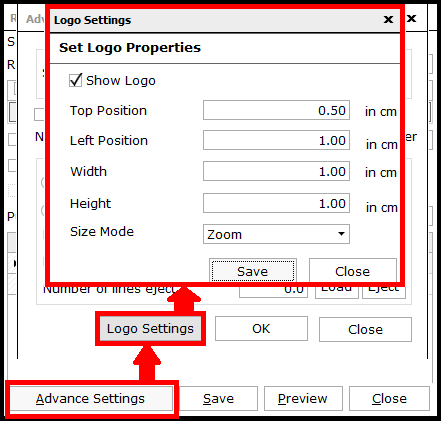 Do the logo settings as explained earlier (in voucher screen) and Save the details.
This completes the process of enabling Logo in Reports of Saral accounting and billing software.


